Installing
Pixee connects to your repositories and scanning tools through the Pixee platform. Installation steps vary depending on the SCM and code scanning tools in use.
Self-Hosted
Pixee Enterprise Server enables self-hosted deployment for organizations with additional security or compliance requirements. Documentation is available upon request. To learn more about self-hosted solutions, please contact us.
Tool connections
Pixee fixes problems detected by your existing code scanning tools and services.
If you use GitHub Advanced Security (GHAS), then installing the Pixeebot GitHub App is sufficient for connecting Pixee to your GHAS results.
Otherwise, you will need to connect Pixee to your code scanning tools and services, before Pixee can send fixes. If your repository does not use any code scanning tools and services, but you still want to try Pixee, see our guide for adding Semgrep CLI and Pixee to your GitHub repository.
Repository access
During installation, you’ll need to specify which of your repositories Pixee can access. This can be done in one of two ways:
- All repositories - By selecting this option, Pixee will monitor all your existing and future repositories.
- Select repositories - Opting for this choice will present you with a list of your current repositories. From there, you can choose the specific repositories Pixee can access.
Updating repository access
To update repository access for Pixee:
From Pixee Dashboard:
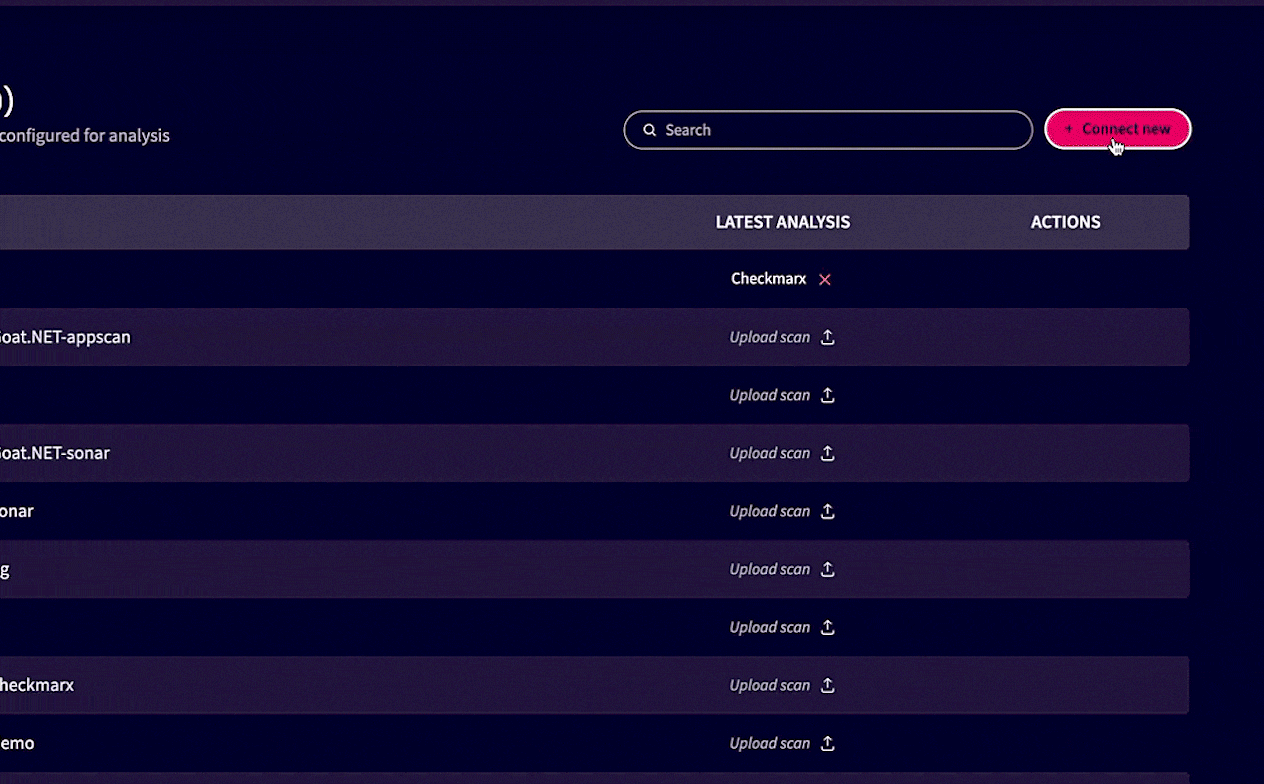
- To add a new repository, navigate to your Repositories page, and click the "+Connect new" button to choose a repository connection method.
From GitHub:
- Go to your GitHub homepage.
- Navigate to Settings > Integrations > Applications.
- Select "pixeebot" from the list of applications.
- Click the configure button to access Pixee settings.
Repository access selection can be managed at any time by adjusting settings through either of these paths.